Wednesday, November 6, 2013

Corner Cabinet Redo

So, I'm finally getting around to posting my cabinet project! This awesome cabinet was handed down to me from my mother in law which was handed down to her from her great grandmother who bought it in the late 60's. It was definitely due for some TLC.


I didn't really know what I had signed up for but I had lots of fun doing it. I removed the hooks, top doors, sanded down the entire thing since the varnish was already peeling off & had drip lines, realigned the shelves & made them sturdy again. The wood was so old & dry the shelves didn't want to work with me at first but I fixed 'em! (Thanks Jared!) 

My little Olly man wanted to help out too!

These were the original colors I had planned but the blue ended up being too much of a "baby boy blue" than I wanted so I switched to a more tealish color.


Old warped planks got traded out for a freshly cut piece.

I painted the base brown so it would show through when it was distressed. I love how this project became family time :)


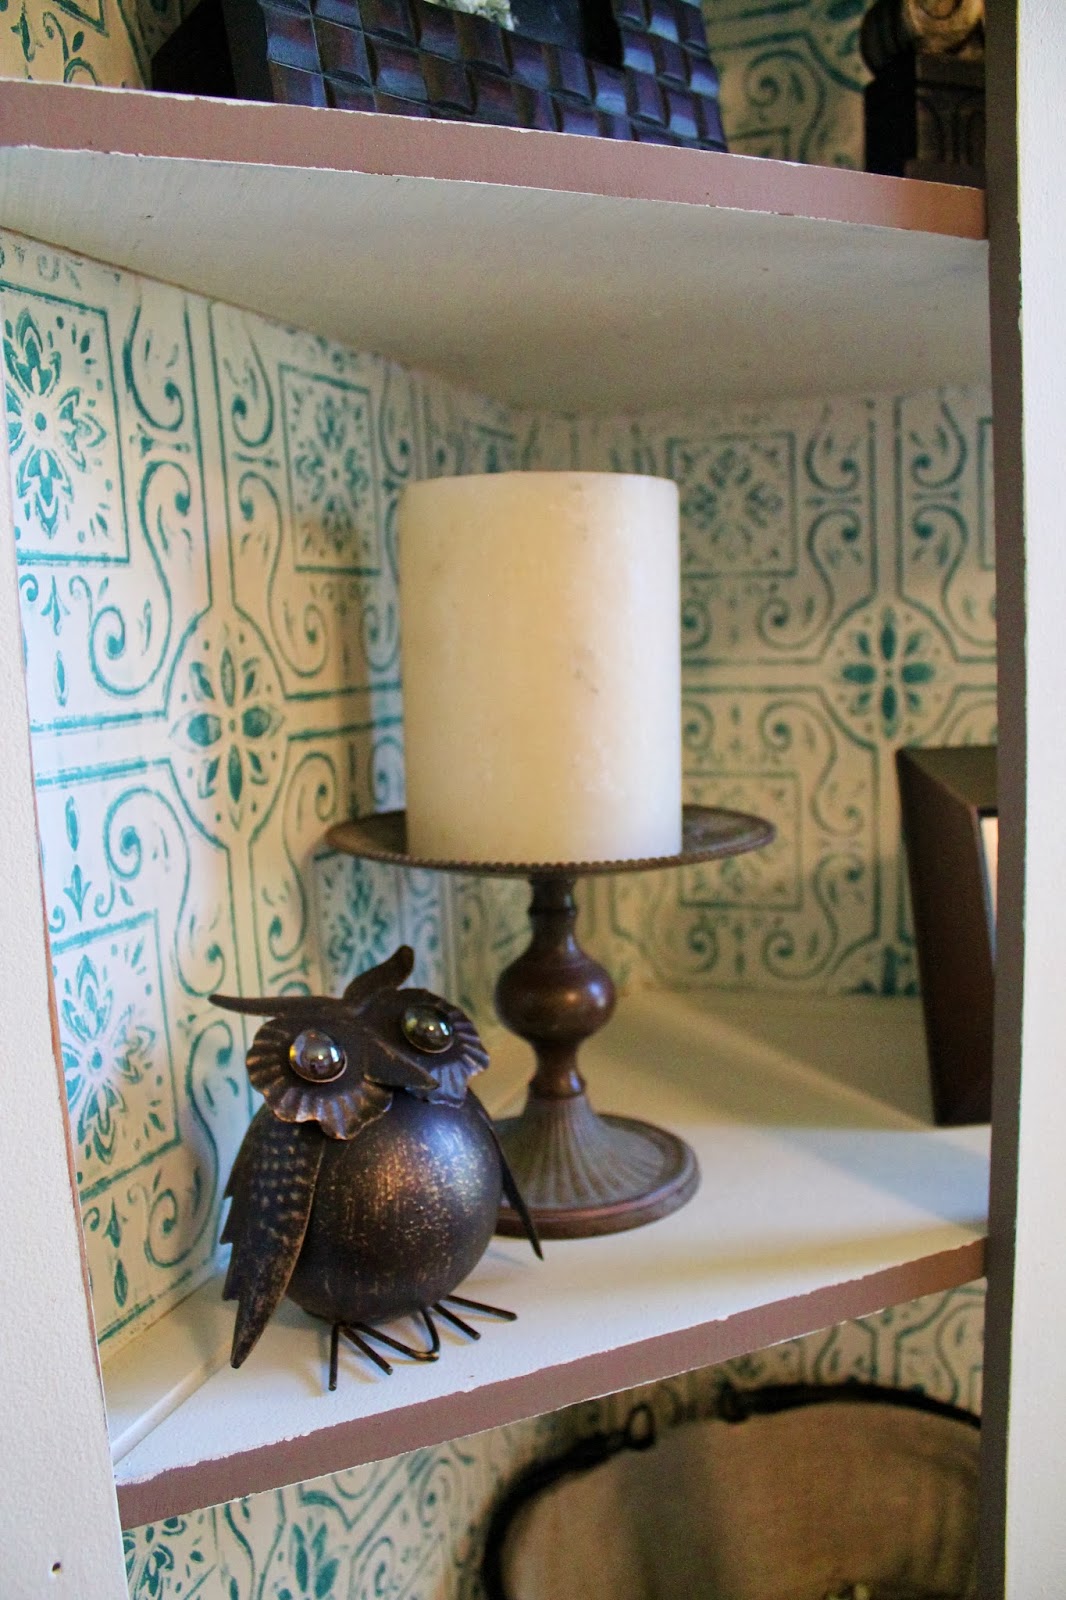
Then it came time to paint the cream color. I wanted a little pop of color so I left the trim brown. I also hung textured paintable wall paper which was kind of a pain since the cabinet's measurements weren't the same for each shelf & once the paper was wet it would expand & be just a smidge too large to fit, but ended up being so worth it. Once the paper was dry I painted the cream color on to match the cabinet. Then, I lightly painted the teal on just the top of the wallpaper so the design would show. 


TADA!!! 
I love how it turned out but I will probably distress it a little bit more. 


Friday, May 31, 2013

Office Chair Makeover


My dream crafting space is coming together nicely but one thing remained an eyesore with all my white furniture. Enter: $9.99 solid black IKEA chair from years past. My frugal side won't allow me to throw it out since it still is a well functioning chair but my DIY side had an easy solution...reupholster! 


First, I took the chair apart. Removing the seat was easy since it was only a few screws but the back rest took some prying with a paint scraper. Once it starts to come out it pops off with ease. Fortunately the foam padding was still good & I didn't need to replace it!


Next step was pulling out all the staples with a pocket knife & pliers. Then I used the old boring blah seat covers as my pattern on my freshly ironed fabric.


Thankfully my husband helped me with the last part of stapling on the new cover! I lined up the design where I wanted it & stretched the fabric over the foam then started stapling away. The extra set of hands really came in handy here. I'm sure you could do it by yourself but DIY time with my husband is always nice :) After it was in place I trimmed off the excess fabric & put my chair back together! 


VOILA!


I might even spray paint the black hardware.....hmmm.


Thursday, February 21, 2013

DIY Freezer Paper Screen Print Gym Tank

 *This is my FIRST real blog post so take it easy on me if it's not glamorous!


Supplies:
Tank or T-shirt, prewashed. These are the tank tops I got from Forever21.com for $5!
Fabric paint 
Foam paint brush
Freezer paper
X-Acto Knife
Scissors
Cricut machine, cartridge, & cutting mat
Printer
Iron
Old magazine 


1.) Line Cricut mat with freezer paper shiny side down. When ironed shiny side down the paper will stick to the fabric so your stencil stays put. 
2.) Using your Cricut Machine, choose the font & size of your text. I used the Plantin Schoolbook cartridge. "SWEAT & LOOK" were cut 1 1/2in & "LIKE A" were cut 1in. Make sure to keep the inside of the "O's & A's. 
3.) Since I don't have a Cricut cartridge for the pig & fox I used this image. I used Word to size the pig & fox to the size I wanted on my shirt, then printed them.  Trace the images onto the matte side of the freezer paper. (Remember you iron the shiny side down) Paper clips come in handy here! Use the X-Acto knife to cut these out. 
4.) Once text & images are cut out, place them where you want them on the shirt & iron them down. Make sure all the edges are down for crisp lines. Don't forget the inside of the O's, A's & fox legs.


5.) Place the old magazine inside the shirt under the stencil.
6.) Using the fabric paint & foam brush smooth the paint evenly. I did about two coats.
7.) Once the paint is completely dry peel away the freezer paper. For smaller pieces like the inside of the fox legs tweezers help a bunch!


Here is another freezer paper tutorial that helped me with my first project for my son! The "G" logo of my husbands oilfield contracting company, Genuine Enterprises, Inc. 


So, I've finally caved and started a dreaded blog. Here I go!